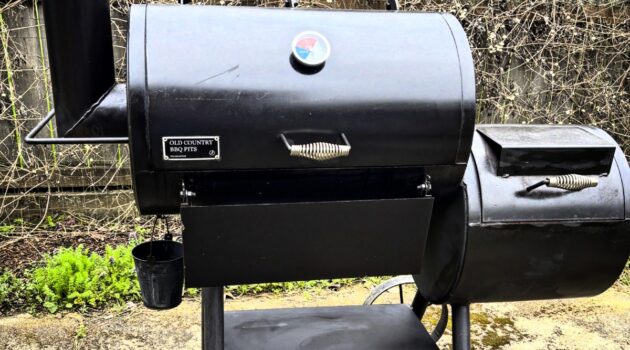
There’s something about a new smoker or grill that gets people fired up. Fresh steel, clean grates, that untouched promise of the perfect cook. But here’s the truth most beginners miss—and most seasoned pitmasters respect:
A brand-new BBQ isn’t ready to cook.
Not yet.
Before the first brisket, before the first rack of ribs, before you even think about throwing on a steak—you’ve got to season it.
And no, this isn’t some optional step you can skip because you’re impatient. Seasoning your BBQ is the difference between cooking food… and crafting flavor.
What “Seasoning” Really Means
Seasoning a BBQ isn’t about salt and pepper—it’s about building a protective, flavor-enhancing layer inside your cooker.
When you coat the interior with oil and run it at high heat, you’re doing two critical things:
– Burning off factory residues, oils, and contaminants
– Creating a polymerized layer that protects the metal and enhances flavor over time
Think of it like breaking in a cast iron skillet. The more you use it—properly—the better it gets.
Why It Actually Matters
A lot of people rush this step, or skip it entirely. That’s a mistake.
1. Burn Off the Junk
New grills and smokers come with manufacturing oils, dust, and sometimes even chemical residues. You don’t want that anywhere near your food.
Seasoning burns all that off clean.
2. Rust Prevention
Bare steel is vulnerable. Especially in a smoker where moisture, heat, and airflow are constantly working against you.
That seasoned oil layer? It’s your first line of defense.
3. Flavor Foundation
Every great BBQ pit has a history—and you can taste it.
Seasoning lays the groundwork for that deep, smoky character that builds over time. It’s subtle at first, but it compounds with every cook.
4. Temperature Stability
A properly seasoned pit holds heat more consistently. That thin, baked-on layer helps regulate temperature swings and improves overall performance.
How to Do It Right
No gimmicks. No shortcuts. Just fire and patience.
Step 1: Clean It Out
Wipe down the interior to remove dust or debris.
Step 2: Oil It Down
Use a high-smoke-point oil (canola, grapeseed, or even avocado oil). Coat the الداخل—grates, walls, lid—everything except burners if it’s gas.
Step 3: Fire It Up
Bring your smoker or grill up to 300–400°F and hold it there for a few hours. Let the oil bake into the metal.
Step 4: Let It Cool Naturally
Don’t rush it. Let the pit cool down slowly so the coating sets properly.
That’s it. You’ve officially started the life of your BBQ.
This Is Where It Begins
Seasoning isn’t just prep work—it’s a mindset.
It’s about respecting the process. Slowing down. Doing things the right way before chasing the end result. The same way you don’t rush a good whiskey, you don’t rush a pit.
Because the truth is, the best BBQ you’ll ever make won’t come from a brand-new grill.
It’ll come from one that’s been used, maintained, and seasoned over time—layer by layer, cook by cook.
Whiskey 7 Seven
Low smoke. Slow burn. No shortcuts.
Leave a Reply